New business checklist
This guide is for a company that has just been founded, or is about to be, and needs its domain, email and website working. Do the steps in this order, because each one depends on the one before. For the general background, see the blog post Kotisivut, sähköposti ja verkkotunnus uudelle yritykselle (in Finnish).
1. Choose the name and the domain at the same time
When the company name starts to take shape, check whether the matching domain is free. Searching does not commit you to anything.
- Name availability: PRH name service
- Domain availability: kotisivukamu.fi/en/order or Domains → Get a domain in the dashboard
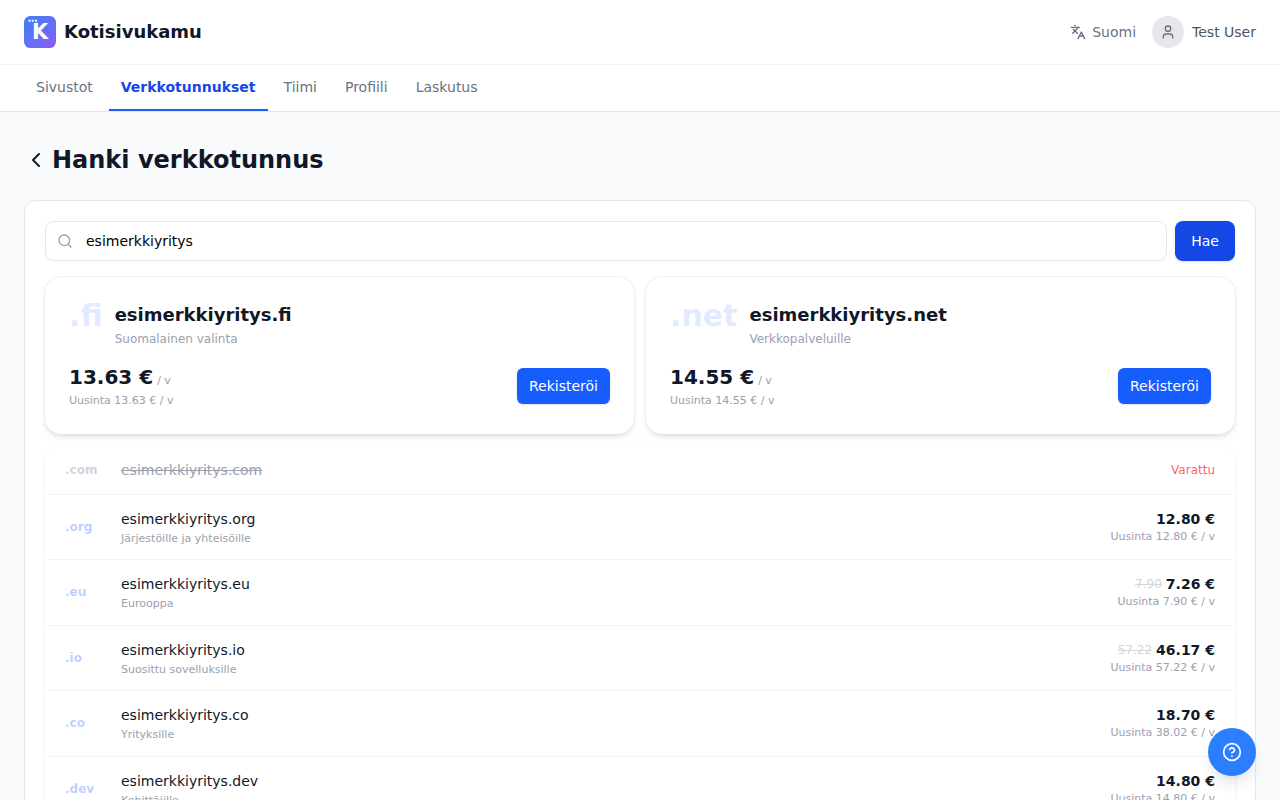
A name entered in the Finnish Trade Register does not reserve the domain automatically. A registered company name gives the right to demand removal of an identical .fi domain, but the procedure is slow. Traficom advises registering the matching domain right at the start, see Traficom's guidance.
If the matching .fi domain is already taken, it is usually better to adjust the name. The same name under another extension, such as .com, sends some of your customers to another company's site. Check also that the matching usernames are free on the social media services you plan to use.
2. Register the company before buying the domain
Buy the domain only after PRH has approved the name and the company has a business ID. The company then becomes the domain holder, not you as a person, and nothing has to be changed afterwards. Holder details cannot be edited in the dashboard after the purchase, so fill them in correctly the first time.
If the name is unusually unique and you worry that someone will take the address during processing, you can buy the domain as a private person first and transfer it to the company later.
You can create and build the site at this stage already. It stays at its preview address until a domain is connected. See Your first site.
3. Buy the domain in the company's name
- Go to Domains → Get a domain, search for the domain and click Add. The cart can hold up to five domains.
- Click Continue to checkout.
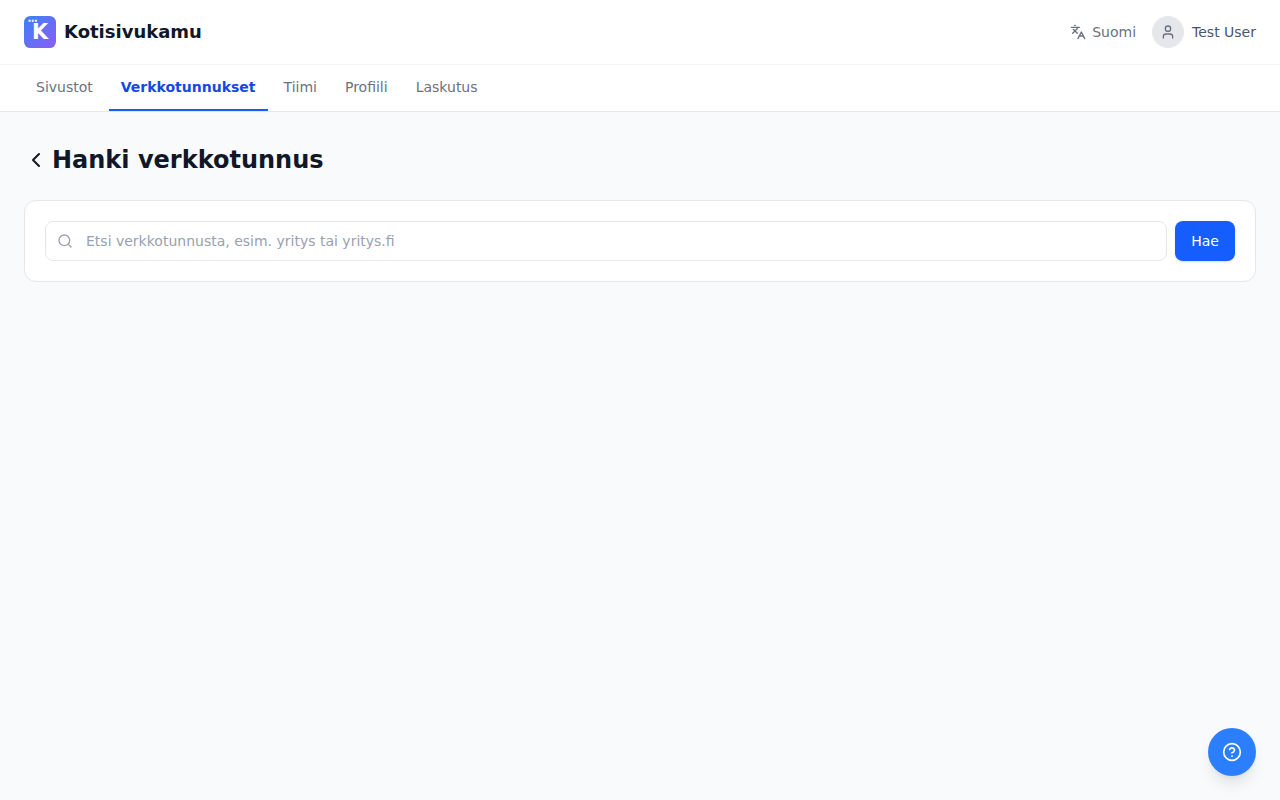
- In the owner details, choose Company as the registrant type.
- Start typing the company name. When you pick the company from the list, we fetch the business ID and address from the Trade Register.
- For email, enter the address you use now. The company address does not exist yet.
- Accept the terms and click Confirm the order. Your payment card is saved, and the domain is registered once the invoice has been charged to the card, usually within a few minutes.
You do not need to buy separate web hosting or a mailbox with the domain. Hosting is part of the site subscription, email forwarding is part of the domain, and the actual email service is chosen in the next step.
DNS settings are made automatically for domains bought through Kotisivukamu. More detail: Domain management.
4. Choose an email service
The choice is made under Domains → (select domain) → Email. There are four options:
| Situation | Recommendation |
|---|---|
| You need Word and Excel, and get a lot of email | Microsoft 365. Email and the browser versions of the apps are part of Business Basic (about €6/month/user). Desktop apps require Business Standard (about €12/month/user). |
| Gmail and Drive are familiar | Google Workspace. |
| You want to keep data in Europe or avoid a monthly fee for office software | A European email service, for example mailbox.org (about €3/month/user, includes browser-based office tools) or a mailbox from a Finnish hosting company, with the free LibreOffice for documents. Add the DNS records the service gives you in the DNS records card. |
| Part-time business, little email | Kotisivukamu forwarding to your own Gmail or similar. No new mailbox, and you send from the company address with Gmail's "Send mail as" setting. |
For Microsoft 365 and Google Workspace the Email card has its own buttons, Enable Microsoft 365 and Enable Google Workspace. Copy the DNS records shown by the service's setup wizard into the field (as text or as a screenshot), and we add the records for you. After that, click Verify in the service. In Microsoft 365 this happens in two phases: first the verification record, and after verification the remaining records.
Instructions for forwarding and sending from Gmail: Email.
5. Create the addresses and add the new one to your team
info@yourcompany.com and firstname@yourcompany.com are usually enough for a small company. The general address goes on the site and on invoices, the personal one is for customer communication.
In Microsoft 365 and Google Workspace you do not need to pay for two user accounts. Create one personal account and add the info@ address to it as an alias. Mail to both addresses then arrives in the same mailbox.
When the company address works, add it to Kotisivukamu as a second user:
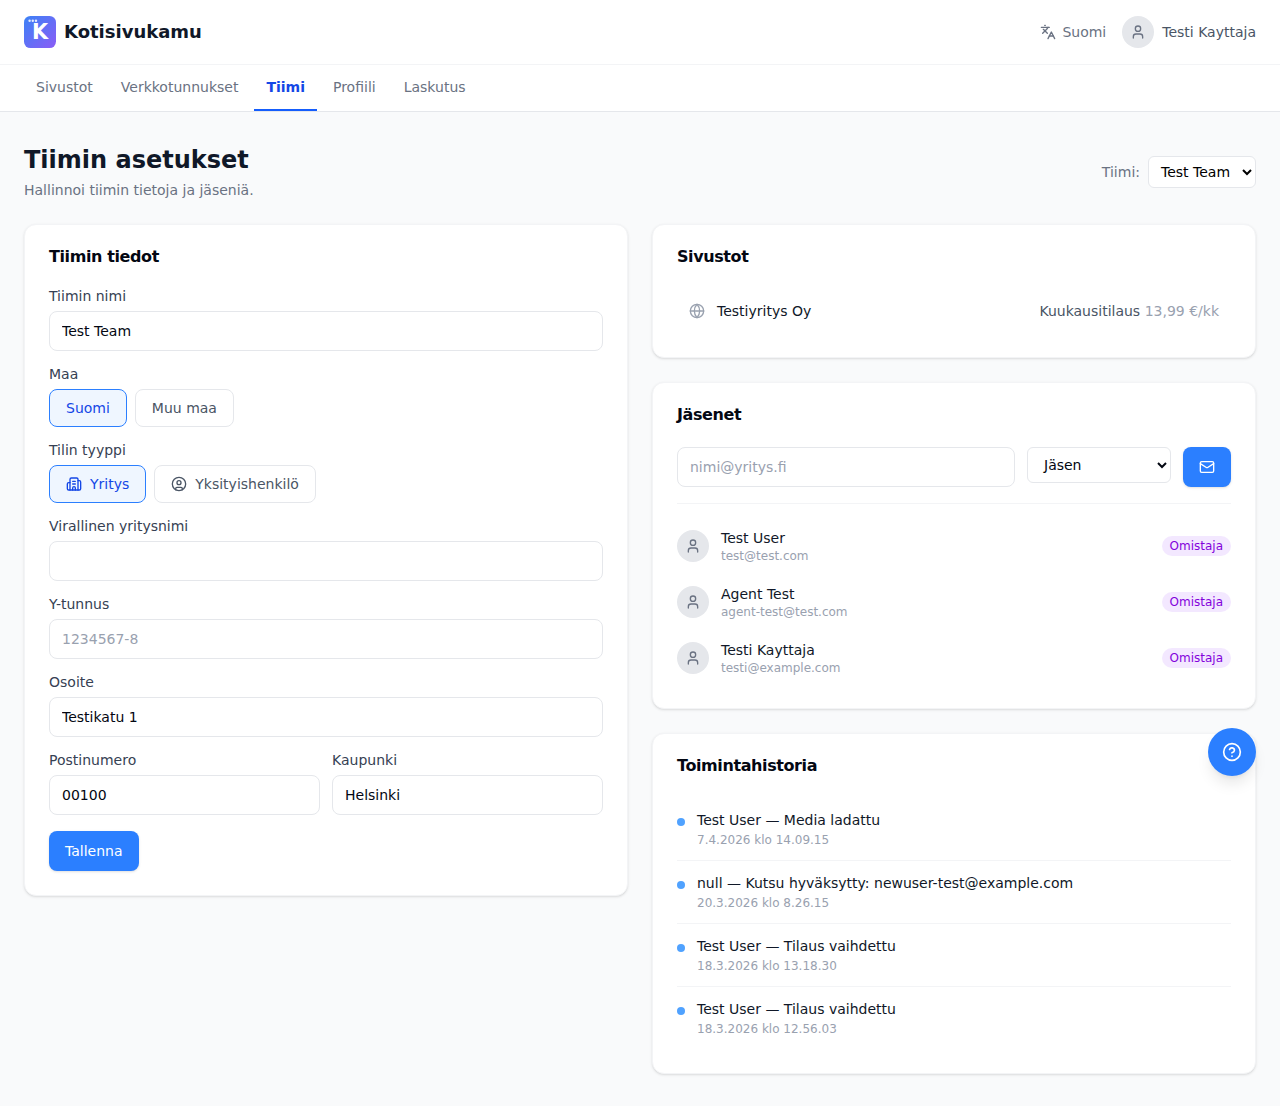
- Go to the Members card on the Team page.
- Enter the new company address, choose the role Admin and click Send invitation.
- Open the invitation in the company mailbox and create the account.
After that you can sign in with either address, and the team and sites are the same. See Dashboard.
6. Connect the domain to the site and publish
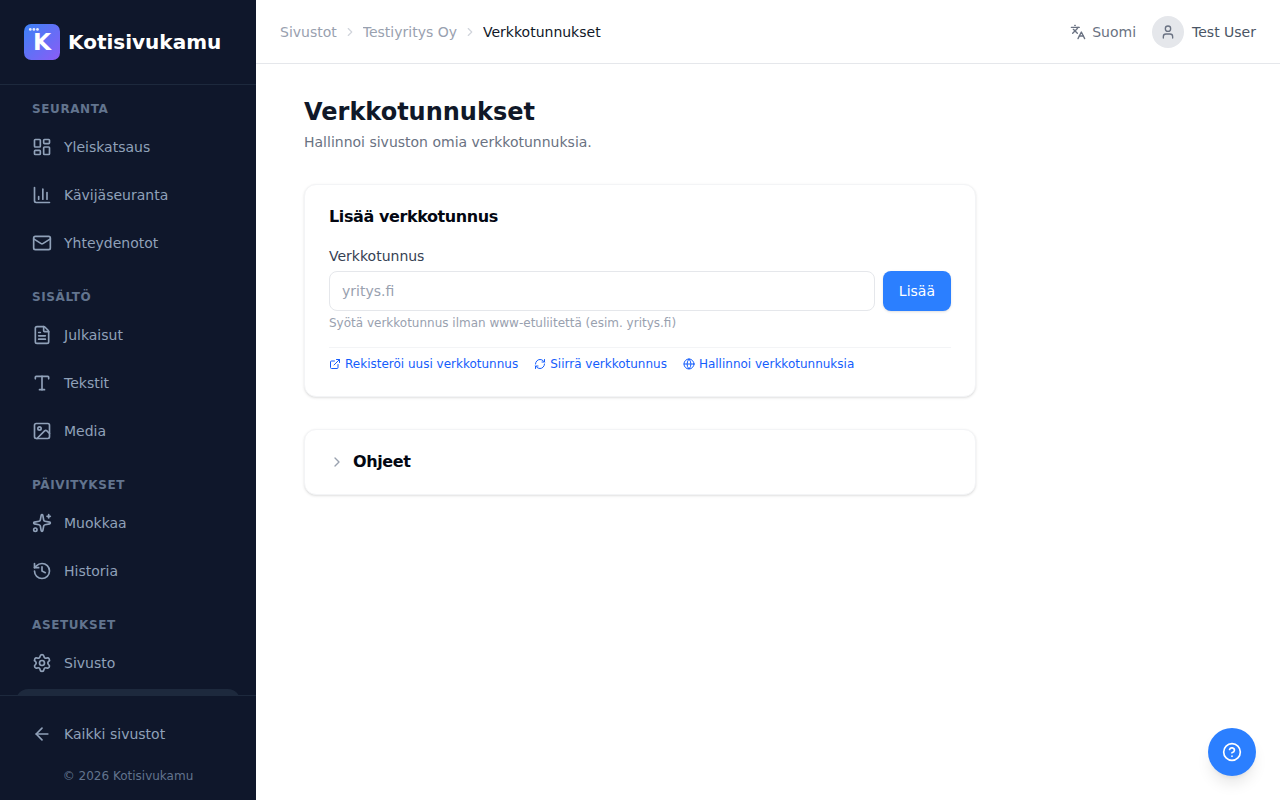
- Open the site and choose Domains in the sidebar.
- Pick one of the team's domains from the list and click Connect. For a domain bought elsewhere, choose I want to use a different domain, type the domain without the www prefix and click Continue.
You can also do this from the domain's own page under Connect to site.
For a domain bought through Kotisivukamu, DNS and the HTTPS certificate are handled automatically, usually within a few minutes. For a domain bought elsewhere, DNS changes can take from half an hour to a few hours to update. An error message right after connecting is common and goes away once the change has spread.
Connecting a domain requires a paid subscription, see Connecting to a site.
Before publishing, check that the site shows the company name, business ID, address and the new email address. To change the company details, ask Kamu in Studio or the Assistant, see Site structure. A privacy policy is already on the site. Check that it describes correctly how contact requests are handled.
7. Tell search engines about the site
On the site's Search engines page:
- Click Add the verification record for me. We add the DNS record that Google Search Console requires.
- Once Google has confirmed ownership, we send the site's sitemap to Google and the page shows your Search Console figures.
Set up a Google Business Profile at the same time if the company has a location or a service area. Guide: Google Business Profile.
You can also add the site to Bing Webmaster Tools, which imports the settings and sitemap directly from Search Console. DuckDuckGo and Microsoft Copilot use Bing's index too.
8. Connect booking, social media and other services
Create accounts for outside services with the company email, not your personal address.
If your work needs appointment booking, ask the AI assistant for a button and give it the address of your booking page. Instructions: Appointment booking. Industry-specific systems (Timma, Vello and others), and where to find the booking page address in each, are listed at kotisivukamu.fi/en/integraatiot. Typical needs by industry are covered in the industry guides. Other connections: Newsletter, Comments.
Social media links are added to the site footer by asking the AI assistant. In the other direction, add the site address and the company email to the profile details of each channel.
9. Check that messages get through
- Contact form: the site's Settings → Notification emails contains by default the address that created the account. Change it or add the company address. See Notifications.
- Send a test message from the company address, for example to your own Gmail, and check that it does not land in spam. The free Mail-tester scores the message and tells you if something is missing from the settings. Once DMARC is enabled, the DMARC reports on the Email card show whether messages sent from the company address pass the SPF and DKIM checks.
- Google search: search for the company name and compare the Business Profile details with the site.
- Invoices: the site subscription renews automatically. On the domain's page, check that Automatic renewal is on, and check the same for your email service, because an expired domain cuts off both the site and the email. On the Team page, check that the billing details are the company's. See Invoices.

Visitor analytics
The site has visitor analytics from the start, without a cookie banner. See Visitor analytics.